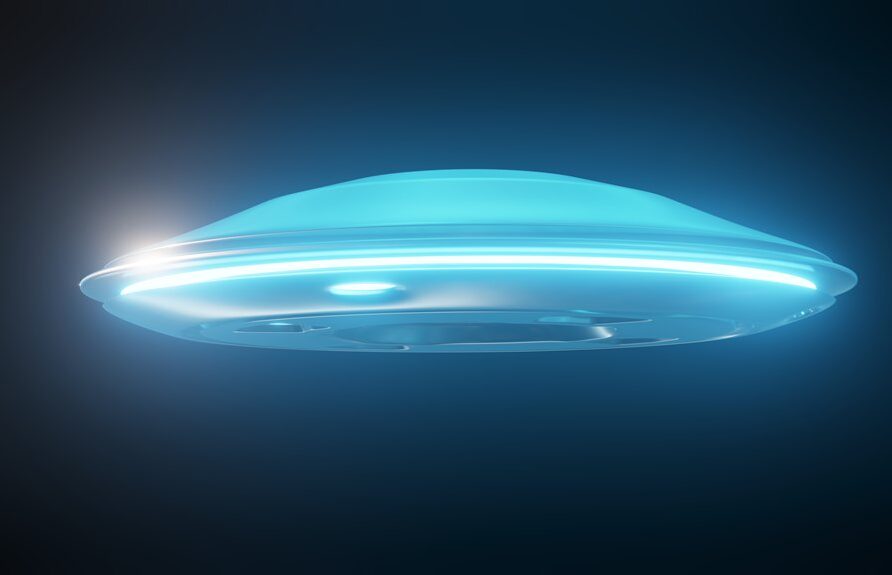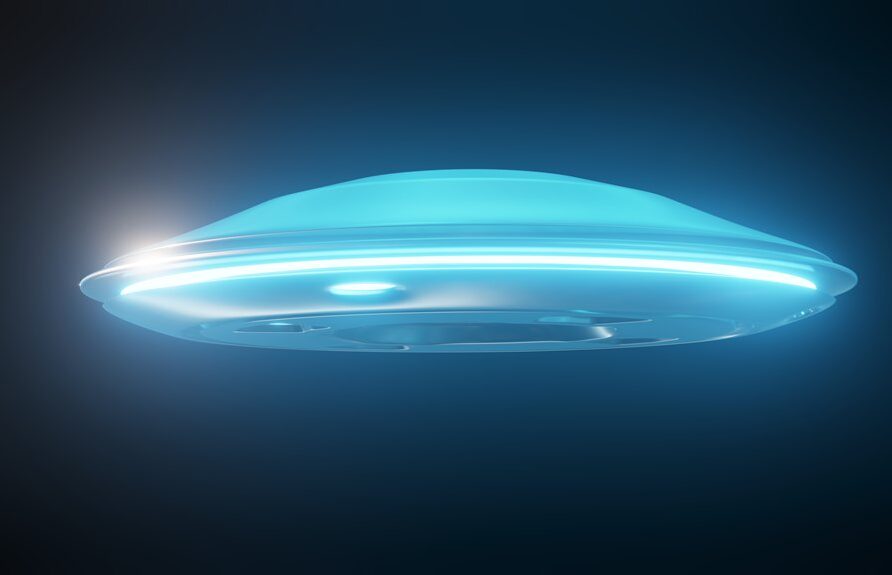
If you’ve ever wanted to create your own UFO artwork, you’re in for an exciting journey. Choosing the right tools is essential, as they set the stage for your creativity. Start with a light sketch to capture the basic shape, but don’t shy away from adding your unique flair. As you develop your design, think about colors and background elements that enhance the overall effect. Ready to explore the details that will really make your UFO stand out?
Choosing Your Drawing Tools for UFO Art
When it comes to drawing a UFO, the right tools can make all the difference in bringing your vision to life. Start with quality pencils; a range from H to B will let you sketch fine details and create bold lines.
The right tools, from quality pencils to rulers, are essential for capturing the intricate details of your UFO design.
Don’t forget an eraser—it’s essential for refining your work. If you’re going digital, a graphics tablet paired with drawing software opens up endless possibilities.
For color, consider markers or colored pencils, as they can add depth and vibrancy to your piece. Finally, a ruler might help with creating those sleek, geometric shapes typical of UFO designs.
With these tools at your disposal, you’ll be well-equipped to release your creativity and capture the mysterious allure of UFOs!
Sketching the Basic Shape of a UFO
To start sketching the basic shape of a UFO, envision its iconic silhouette—often a sleek, elliptical form with a dome on top. Begin with light pencil strokes to capture the overall structure. This initial outline helps establish proportions and angles, ensuring your UFO looks balanced and believable.
Consider these tips:
- Use basic shapes: Start with an ellipse for the body and a smaller circle for the dome.
- Maintain symmetry: Keep both sides of your UFO equal for a polished look.
- Adjust proportions: Vary the dome height and body width for different designs.
- Stay loose: Don’t press too hard; you’ll want to refine your lines later.
With these guidelines, you’re on your way to creating a stunning UFO!
Detailing Your UFO: Lights and Windows
Now that you’ve established the basic shape of your UFO, it’s time to add personality with details like lights and windows. Start by sketching windows along the dome; these can be circular or rectangular. The placement can give your UFO character—consider an asymmetrical design for a more unique look.
Next, add lights around the edges. Think about using small circles or elongated shapes. Vary their sizes for a dynamic effect. Using lines to indicate glowing beams can enhance the realism.
Don’t forget to think about the light source—are they blinking or steady? This adds movement to your drawing.
With these details, your UFO won’t only look more believable but also enchanting, ready to zoom across the night sky!
Choosing Colors for Your UFO Artwork
As you plunge into choosing colors for your UFO artwork, consider how the colors can evoke different feelings and themes. The right palette can transform your piece from ordinary to extraordinary!
Here are some ideas to inspire your choices:
- Metallic Shades: Use silvers and golds for a sleek, futuristic vibe.
- Bright Neons: Opt for vibrant colors to create a playful, eye-catching look.
- Dark Hues: Incorporate blacks and deep blues for a mysterious, otherworldly atmosphere.
- Pastels: Choose softer colors to convey a sense of whimsy and tranquility.
Experimenting with these color schemes can help you express your unique vision.
Experimenting With UFO Design Variations
While you immerse yourself in experimenting with UFO design variations, think about how unique shapes and features can elevate your artwork. Instead of sticking to the classic disc shape, try incorporating triangular, cylindrical, or even organic forms.
Consider adding fins, antennas, or lights to give your UFO character. You might explore different materials, like metallic surfaces or glowing elements, to enhance visual interest.
Enhance your UFO designs with fins, antennas, and lights, using unique materials for added visual intrigue and character.
Play around with sizes; a tiny UFO can evoke curiosity, while a massive one might inspire awe. Don’t hesitate to mix styles—futuristic, retro, or even whimsical.
Each variation you create tells a different story, so let your imagination soar. This experimentation won’t only refine your skills but also make your artwork truly stand out.
How to Add Fun Background Elements?
After experimenting with unique UFO designs, it’s time to think about the backdrop that can enhance your artwork. A vibrant background not only adds depth but also captures your audience’s imagination.
Here are some fun elements you could include:
- Starry Sky: Create a cosmic scene with twinkling stars to emphasize the UFO’s extraterrestrial nature.
- Mountains: Add a silhouette of mountains for a dramatic effect, suggesting the UFO’s height and scale.
- Cityscape: Illustrate a bustling city below to show the UFO’s interaction with urban life.
- Alien Flora: Incorporate whimsical plants or trees to give a sense of an alien planet.
These background elements can elevate your UFO drawing, making it more engaging and visually appealing.
Showcasing Your UFO Artwork: Display and Share Ideas
To effectively showcase your UFO artwork, consider various creative avenues that can amplify its visibility and appeal. Start by displaying your pieces in local galleries or coffee shops, where art enthusiasts can appreciate your work up close.
Use social media platforms like Instagram and TikTok to share behind-the-scenes processes, engaging time-lapse videos, or short tutorials to involve your audience. Collaborate with fellow artists for joint exhibitions or online challenges that promote your UFO theme.
You might also create merchandise, like prints or stickers, to extend your reach. Finally, participate in online art communities to connect with like-minded creators and potential fans.